Our Novel Micro 3D Printer just arrived, the expirementing has begun!
The Micro 3D Printer by M3D is a cute, tiny and extremely quiet entry-level 3D printer that I found available for a modest price. The Micro is surprisingly compact and very light weight. Its simple, yet attractive Apple-like design makes it a good conversation piece and a proper piece of hardware for some initial expirements.
3D Printing – The Next Generation
When I noted the M3D Micro 3D printer back in April, my attention was initially drawn to the tagline: “Micro 3D printer is the Next Generation 3D Printer”. Well, that’s exactly the truth: our next generation likely grows up in a world different from today: 3D printers, 3D Print Communities, 3D Print Hubs, Fablabs, etc. all will be common stuff. And, very likely, they are not or unsufficiently educated for the jobs they will be hired for by tomorrow.
So why not start with teaching them the basics of 3D printing today?
So I did, and my two young boys join me on this journey…

Design and Features
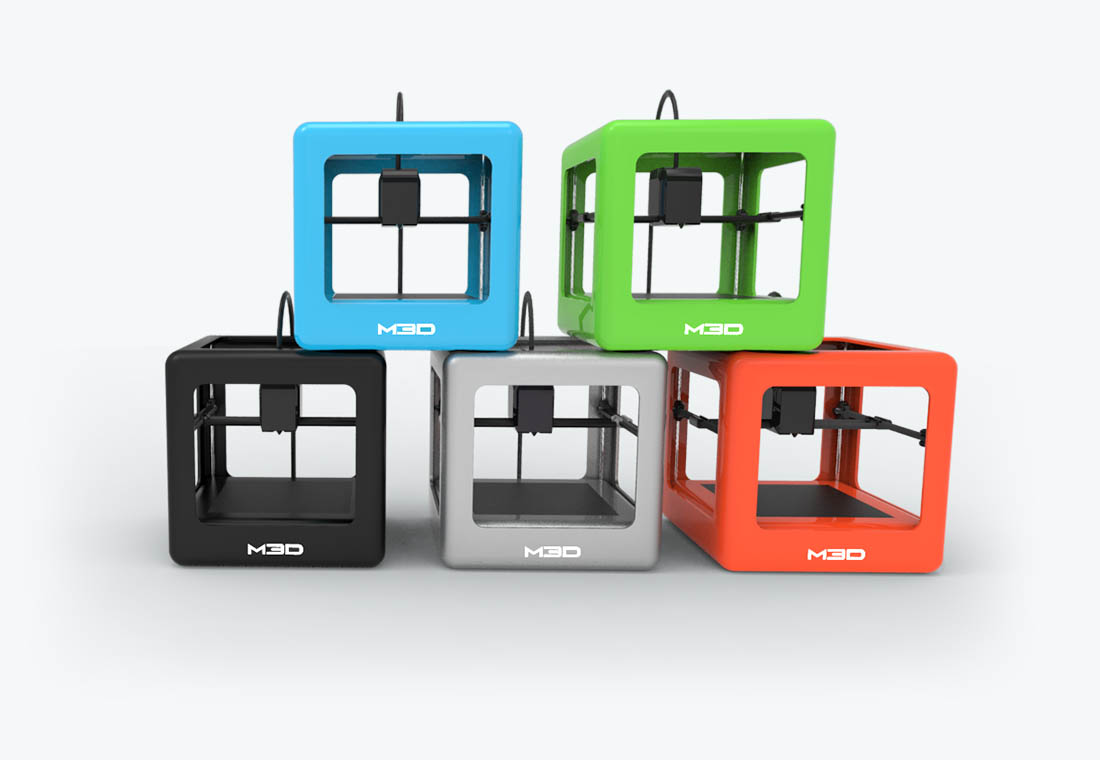
The M3D Micro 3D printer I finally decided to buy comes in two versions: the ‘Retail’ (the one we purchased) and the ‘Standard’. The Retail version includes a filament spool and written instructions, and it has a one-year warranty. The Standard model has a 3-month warranty, and it doesn’t come with filament or written instructions, as far as I discovered. Our unit is white, but different color options are available for the frame.

Setting up the Printer
Thanks to the enclosed instructions, the initial set up of the Micro was a fairly simple process. When you take the printer out of the nicely designed box, you have to unpack it by removing all the bubble foam and tape. The instructions emphasize taking off the clips that hold the extruder carriage in place during the shipping. One thing I overlooked: two pieces of black foam beneath the extruder.

Downloading the Software
After unpacking it, I have downloaded the software from M3D’s website and installed it on my laptop. Then I plugged the printer in, and the M3D logo starts to light up (there’s no power switch on the printer, but the M3D logo nicely lights up when the printer is connected to the mains) and connected it to my laptop via the included USB-cable.

Loading the Filament
The next step was to load the filament (1.75mm), which can be done either internally – a small filament spool fits exactly in the compartment at the base of the printer under the print bed – I discovered it accidentaly, or externally: the spool of filament can be placed in an optional spool holder outside of the printer. To start loading my files, I clicked on the ‘3D Ink’ tab in the software. Then, you have to enter a code (describing the filament type) and feed the filament from the spool to the extruder.
M3D sells spools of filaments along with the printer, which they call ‘3D Ink’. For this initial trial, we used a spool of M3D’s clear PLA filament (WOW) and Light Carribean blue (SKY). I loaded the filament externally, what is way easier than the internal loading.

M3D Software & Library
The Micro’s 3D printing software is by far the simplest I’ve ever used. At the top (left hand side) of the main screen are two icons: a filament spool labeled ‘3D Ink’ and another folder called ‘Open Model’. At the right, there’s a gear icon, from which you can calibrate the print bed.
If you have previously uploaded any 3D models, you can click on a thumbnail to load the model, or choose ‘Open Model’ and navigate through your file directories to select a 3D file to load. Once loaded, the 3D-object will appear on the screen framed within a visual image of the printer. You can rescale, rotate, center or reposition the object with the help of several buttons at the left edge of the screen, or center the object with a button at the bottom of the screen.
Marvin – Symbol of the 3D Printing Movement
We finally chose to start with printing ‘Marvin’ – the symbol of the 3D printing movement, as found on 3D Hubs. Marvin’s core ethos is about community, creativity, social change, and problem solving. He’s determined to revolutionize the way we make things through 3D printing, so that seems to be a good start!

When we had ‘Marvin’ scaled and positioned to our satisfaction, we started the process by simply hitting the ‘Print’ button. A dialog box that identifies the printer and the filament pops up. There was a possibility to choose one of five print-quality settings from a pull-down menu.
“3D Printing is determined to Revolutionize the Way we make almost Everything”
In a second dropdown menu, I was able to choose from six additional settings by which the fill density could be defined: two hollow settings, with the walls of different thicknesses, and four settings with increasing percentages of infill. The higher the resolution and the thicker the infill, the longer it takes to print an object.

The Printing Process
I printed two Marvins, one for each of the boys. The first one in medium and the other in low resolution. Honestly, I didn’t see too much difference in quality among the chosen resolutions. Both test prints tended to look slightly rough-hewn, and some fine detail was lost. Some post processing (polishing) will be needed anyway, but the first results are promising. Here are the puppets:

Finally, the Micro might not be exactly the ‘breakout’ prosumer model I’ve been expecting when I ordered it online, but I might be spoiled in my actual job position at Luxexcel where we use to work with world class hardware (Printoptical Technology, for the printing of optics and optical components). However, it’s certainly worth taking a look at if you’re looking for a solid starter 3D printer for educational or hobby purposes.
What’s next?
The boys and I will continue the trial & error in the upcoming weeks, there’s many more to come this summer period, so watch out for the progress! Let’s see what happens if we bring some (back)light in as well…
Thanks for reading this post, stay tuned!
